How to Introduce a New Cat to Your Home: A Step-by-Step Guide for a Stress-Free Transition
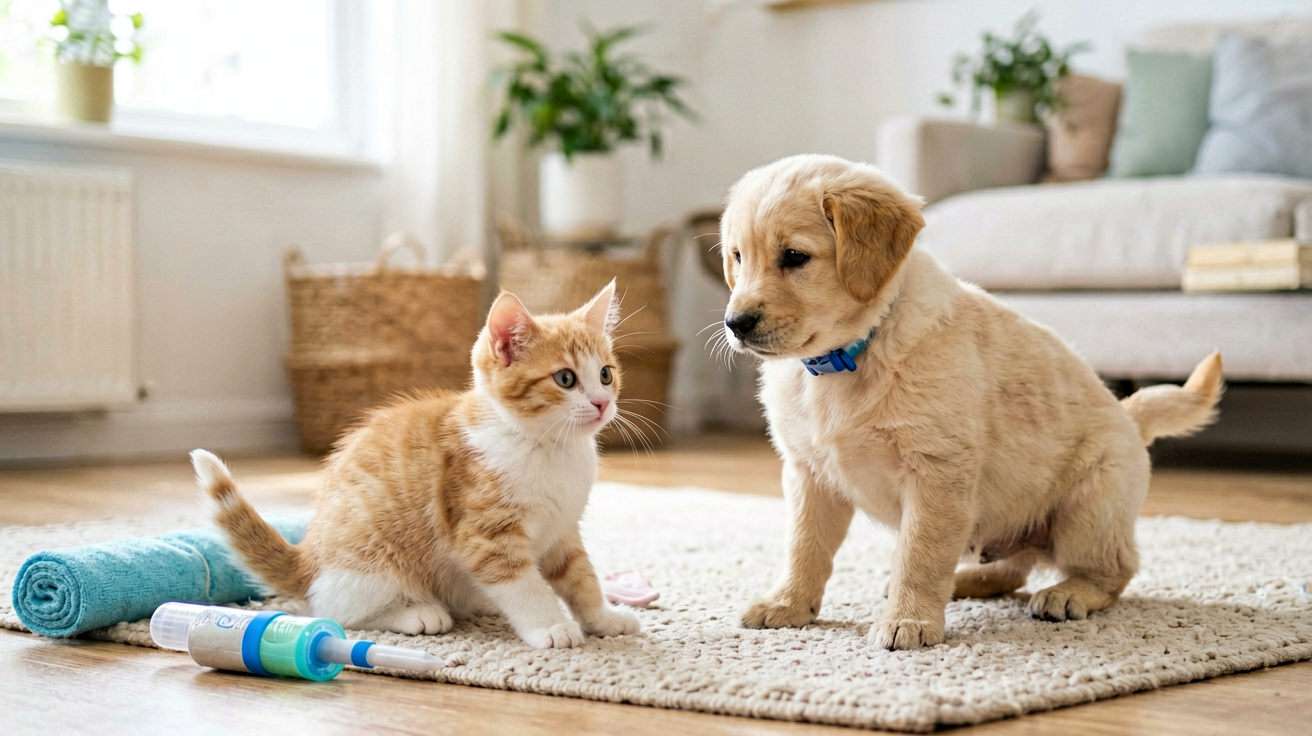
You’ve just brought home a new cat. You’re excited. You’ve got the toys, the treats, the fancy new litter box. But then you open the carrier, and your resident cat takes one look at the newcomer and lets out a growl that would make a lion proud. Suddenly, your dream of a multi-cat harmony feels like a scene from a horror movie.
📋 Table of Contents
- 1. Step 1: Set Up a “Safe Room” (The First 3–7 Days)
- 2. Step 2: Scent Swapping (Days 3–7)
- 3. Step 3: The “Door Crack” and Visual Introductions (Days 7–14)
- 4. Step 4: Supervised Face-to-Face Meetings (Days 14–21+)
- 5. Step 5: Gradual Integration and Whole-House Access
- 6. Product Picks: Best Tools for a Smooth Cat Introduction
Don’t panic. Introducing a feisty tabby to a grumpy senior cat is exactly the kind of mismatch this guide is built for. Give it three weeks, a lot of patience, and one very chewed-up feather wand. It can work — and it can work for you, too.
Here’s the quick answer: The secret to successfully learning how to introduce a new cat to your home is to go slow. Really slow. The classic “3-3-3 rule” says it takes about three days for a cat to decompress, three weeks to learn your routine, and three months to truly feel at home. But introductions between cats? That can take anywhere from a few days to a few months. The key is patience, scent swapping, and never forcing a meeting. This guide will walk you through every step of the cat introduction process so you can avoid hissing matches and build a peaceful, multi-cat household.
Step 1: Set Up a “Safe Room” (The First 3–7 Days)
Before you even think about letting the new cat roam free, you need a dedicated safe room. This is their sanctuary. It should be a small, quiet space like a spare bedroom, a home office, or even a large walk-in closet. This room needs to have everything your new cat needs: food, water, a litter box, a scratching post, and a cozy bed.
Why is this so important? Cats are territorial. Your resident cat owns the house. Your new cat is a stranger. Forcing them to meet immediately is like you waking up to find a stranger sleeping in your bed. It won’t end well. The safe room allows the new cat to decompress and feel secure. It also lets your resident cat get used to the idea that something is different, without a direct confrontation.
Pro tip: Place the food and water bowls far away from the litter box. Cats don’t like eating where they potty. I recommend a stainless steel bowl for hygiene. The iClever Stainless Steel Cat Bowl is a great choice because it’s dishwasher safe and has a non-slip base.
During this time, do not let the cats see each other. Keep the door closed. Spend time with your new cat in the safe room, but also make sure to give your resident cat extra love and attention outside the room. You don’t want them to feel replaced.
Step 2: Scent Swapping (Days 3–7)
Once your new cat is eating, drinking, and using the litter box regularly (usually after 2–3 days), it’s time to start the scent introduction. Cats rely heavily on smell to understand the world. By swapping scents, you’re essentially letting them “meet” without the stress of a face-to-face encounter.
How to do it:
- Rub a clean sock or cloth on your new cat’s cheeks and chin (where they have scent glands). Then, place that sock near your resident cat’s food bowl or favorite sleeping spot.
- Do the reverse: Rub a cloth on your resident cat and place it in the new cat’s safe room.
- Swap bedding: Exchange blankets or beds between the two cats every other day.
Watch for positive reactions. A cat that sniffs the cloth and then looks relaxed (slow blinks, soft tail) is a good sign. A cat that hisses or puffs up is still stressed. If you see stress, slow down. Go back to step one for another day or two.
My favorite tool for this step? The Feliway Classic Diffuser. This plug-in diffuser releases a synthetic version of a cat’s facial pheromone, which signals “safe” and “calm.” I plug one in the safe room and one in the main living area. It’s not magic, but it takes the edge off. You can find it on Chewy for about $35 for a starter kit.
Step 3: The “Door Crack” and Visual Introductions (Days 7–14)
Now that they’re used to each other’s smell, it’s time for them to see each other—but with a barrier. The goal here is positive association. You want them to learn that seeing the other cat means good things (treats, playtime, attention).
Two techniques that work:
Method A: The Cracked Door Feeding
Place your new cat’s food bowl on their side of the safe room door. Place your resident cat’s food bowl on the opposite side, about 3–4 feet away. Crack the door open just enough so they can see each other (an inch or two). Feed them at the same time. If they can eat calmly within sight of each other, that’s a huge win. If they hiss or stare, close the door and move the bowls further away. Try again later.
Method B: The Baby Gate or Screen Door
A sturdy baby gate (or a screen door if you have a spare door) allows visual and limited physical contact without a full meeting. I love using a tall baby gate with a small door in it, like the Evenflo Soft Gate. It’s tall enough that most cats can’t jump over it (though some agile jumpers might!). You can place it in the doorway of the safe room. This lets them sniff noses and see each other’s body language without being able to attack.
Important: Keep these sessions short. Start with 5–10 minutes, twice a day. Gradually increase the time as they become more relaxed. Always end on a positive note—give them a treat and separate them before any tension arises.
Step 4: Supervised Face-to-Face Meetings (Days 14–21+)
This is the moment you’ve been waiting for. But don’t just open the door and hope for the best. You need to control the environment. Here’s how to set up the first meeting for success:
- Choose a neutral space. Not the safe room (that’s the new cat’s territory). Not your resident cat’s favorite hangout. Use a living room or hallway that neither cat has claimed as their own.
- Use a carrier or harness. For the first few meetings, keep the new cat in a carrier, or put both cats on harnesses and leashes. This gives you control and prevents a chase.
- Distract with play. Use a wand toy! A Da Bird Cat Toy is my go-to. It mimics the movement of a bird or insect, and most cats can’t resist. Let them play near each other (but not with the same toy). Play reduces stress and builds positive associations.
- Give high-value treats. Use something they only get during these meetings, like freeze-dried chicken or Churu lickable treats. They’ll start associating the other cat with deliciousness.
What to watch for: A little hissing and growling is normal. It’s a cat’s way of saying “I’m not sure about this.” But you should separate them if you see: flattened ears, puffed tails, growling that escalates to yowling, or any swatting with claws out. If that happens, go back a step. There’s no shame in taking it slow.
How long until they’re friends? It varies wildly. Some cats become best buddies in a week. Others tolerate each other from a distance forever. Not every pair becomes cuddly, but many co-exist peacefully after about 3 months. That’s a win.
Step 5: Gradual Integration and Whole-House Access
Once you’ve had several successful supervised meetings (no hissing, relaxed body language, maybe even a nose touch), you can start giving the new cat limited access to the rest of the house. But do it in phases.
Phase 1: Open the safe room door for 30 minutes while you’re home and supervising. Let the new cat explore a small area (like the living room) while your resident cat is in another room or in their own safe space.
Phase 2: Once the new cat seems comfortable exploring, let both cats have free access to the same space, but with you present. Use treats and play to keep things positive.
Phase 3: When you see them sleeping in the same room (even if not touching), or grooming each other, or playing together, you can start giving them unsupervised access. This usually takes a few weeks.
One final tip: Make sure you have enough resources. A common cause of conflict is competition over food, water, and litter boxes. The rule of thumb is: one litter box per cat, plus one extra. So for two cats, you need three litter boxes. Place them in different areas. This prevents resource guarding and gives your cats options if one is being bullied.
For litter boxes, I highly recommend the Modkat Flip Litter Box. It’s top-entry, which reduces tracking and gives cats privacy. It’s also easy to clean. You can find it on Petco for around $70. Invest in a few good ones, and you’ll save yourself a lot of stress.
Product Picks: Best Tools for a Smooth Cat Introduction


🩺 One Caveat: This content summarizes common veterinary recommendations and credible pet-care sources. It’s educational, not a diagnosis. Reach out to your veterinarian with health questions about your pet.