How to Clean Cat Ears Safely at Home: A Step-by-Step Guide for Worried Pet Parents
🩺 Note on How to Clean Cat Ears Safely at Home: A Step-by-Step Guide for Worried Pet Parents: the advice below reflects widely used veterinary guidance and reputable pet-care references. It's a helpful starting point, not a replacement for a hands-on exam with your own veterinarian.
📋 Table of Contents
- 1. Why Cleaning Your Cat’s Ears Matters (and When to Skip It)
- 2. What You’ll Need: The Right Tools for the Job
- 3. Step-by-Step: How to Clean Cat Ears Safely at Home
- 4. Common Mistakes to Avoid (And How to Fix Them)
- 5. When to Call the Vet: Red Flags You Shouldn’t Ignore
- 6. Product Picks: Best Ear Cleaners for Cats
- 7. FAQ: Your Ear Cleaning Questions, Answered
You’re cuddling with your cat, scratching behind her ears, when suddenly—*snap*—she jerks away. You notice a dark, waxy buildup and a faint, funky smell. Your mind races: Is it mites? An infection? Did I do something wrong?
Before you panic, take a breath. Knowing how to clean cat ears safely at home is one of the most valuable skills you can learn as a pet parent. It’s not complicated, but it’s easy to mess up. A wrong move can push debris deeper, cause pain, or even rupture an eardrum.
In this guide, I’ll walk you through the exact steps to clean your cat’s ears without stress—for you or your feline friend. I’ll share the products I trust, the techniques that work, and the red flags that mean “stop and call the vet.”
Why Cleaning Your Cat’s Ears Matters (and When to Skip It)
My first attempt at cleaning Cooper's ears nearly ended in a struggle and a scratched arm. What worked: only wiping the outer ear, a cat-specific cleaner, and zero cotton swabs near the canal. Slow, short, treat-after sessions turned it from a battle into a non-event.
First, a reality check: not every cat needs ear cleaning. Healthy ears are self-cleaning. If your cat’s ears look pink, clean, and odor-free—leave them alone. Over-cleaning can strip natural oils and cause irritation.
But when should you intervene? Look for these signs:
- Visible dirt, wax, or dark discharge
- Frequent head shaking or ear scratching
- Redness or swelling inside the ear flap
- A musty, yeasty, or sour smell
- Hair loss or scabs around the ears
If you spot any of these, it’s time to learn how to clean cat ears safely at home. Cats with floppy ears (like Scottish Folds) or those prone to allergies may need more frequent cleanings—say, once a week. For most cats, once a month is plenty.
Important: If your cat is in obvious pain, has a swollen ear, or is tilting her head constantly, skip the DIY. Head to your vet immediately. Ear infections and mites require prescription treatment, not home care.
What You’ll Need: The Right Tools for the Job
Using the wrong supplies is the #1 mistake people make. Q-tips? Hard no. Cotton swabs can push wax and debris deep into the ear canal, causing impaction or perforation. Stick to these vet-informed items:
1. A Cat-Safe Ear Cleaning Solution
Never use water, alcohol, or hydrogen peroxide. They can dry out the ear canal, cause stinging, and worsen infections. Instead, choose a gentle, pH-balanced ear cleaner.
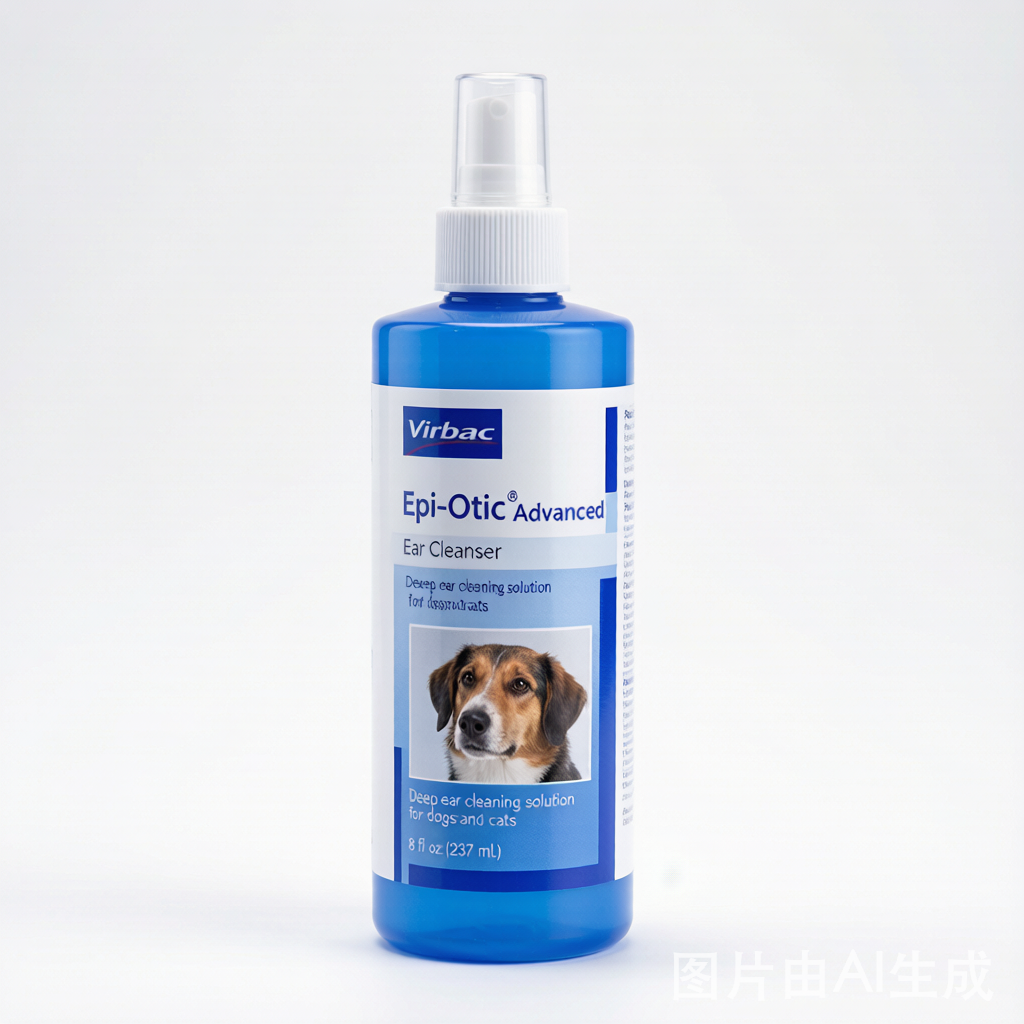
I’ve tried several, and Virbac Epi-Otic Advanced Ear Cleaner is my go-to. It’s alcohol-free, contains salicylic acid to break down wax, and has a pleasant scent. A 4-ounce bottle costs around $14 on Chewy and lasts months.
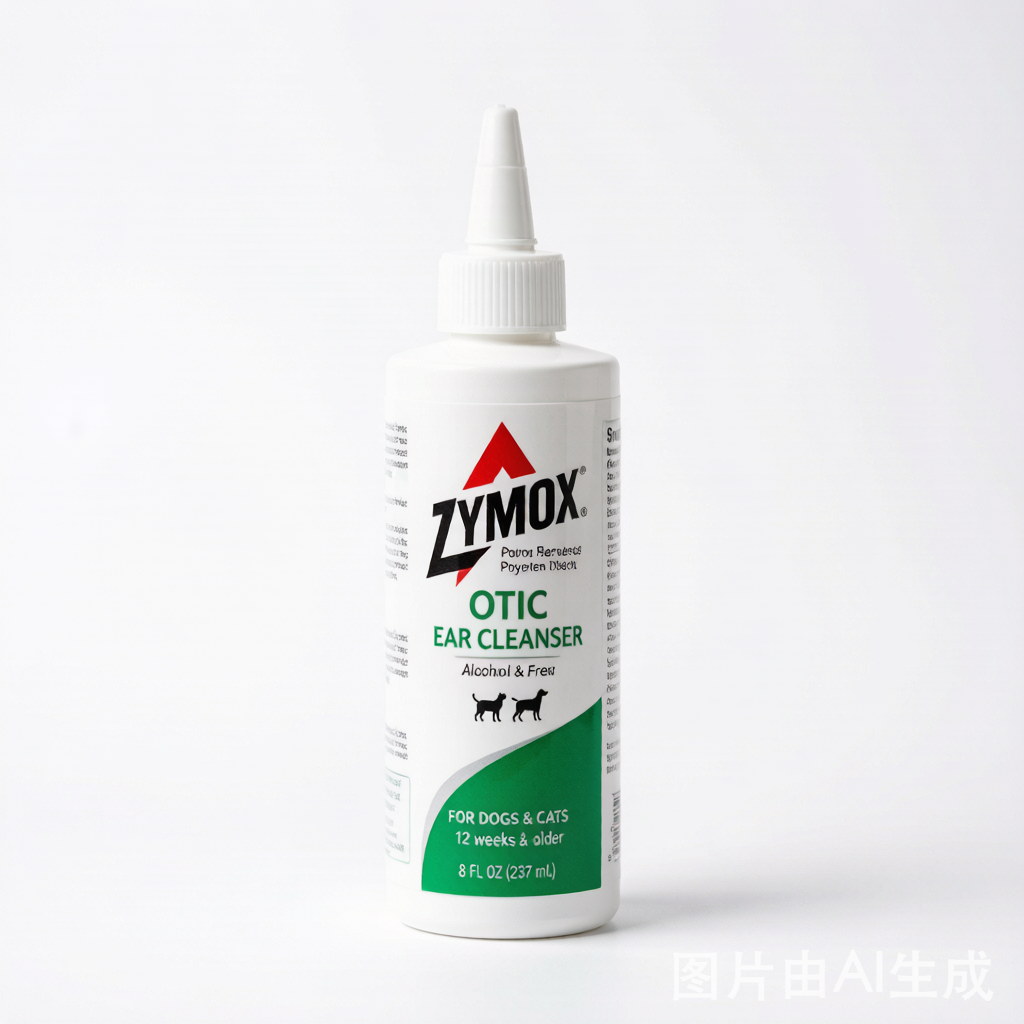
Another solid choice is Zymox Otic Ear Cleanser ($12 on Amazon). It’s enzymatic, meaning it gently dissolves buildup without harsh chemicals. Perfect for sensitive ears.
2. Soft Cotton Balls or Gauze Pads
These are your safest tools. They’re absorbent, gentle, and won’t shed fibers like regular cotton balls might. Look for sterile gauze pads—a box of 100 costs about $6 on Amazon.
3. Treats and a Calm Setup
Your cat’s cooperation is the wildcard. Have her favorite treats ready (I use Greenies Feline Dental Treats, about $6 on Petco). Wrap her in a towel if she’s squirmy—this “purrito” technique keeps her calm and protected.
Choose a quiet room, sit on the floor (so she can’t fall), and keep the session under 2 minutes. If she fights, stop. It’s better to try again tomorrow than to create a negative association.
Step-by-Step: How to Clean Cat Ears Safely at Home
Now for the main event. Follow these steps exactly, and you’ll have clean, healthy ears in minutes.
Step 1: Inspect Before You Clean
Gently fold back your cat’s ear flap. Look inside with a bright light. A healthy ear is pale pink with minimal wax. If you see black specks that look like coffee grounds, that’s a classic sign of ear mites. If you see yellow or green pus, redness, or swelling, stop immediately and call your vet.
Only proceed if the ear looks “dirty but not angry.”
Step 2: Apply the Cleaning Solution
Hold the bottle of ear cleaner at a 45-degree angle. Squeeze a few drops directly into the ear canal—enough to fill it but not overflow. Don’t touch the bottle tip to the ear; that can introduce bacteria.
Most cats hate the cold drip. Warm the bottle in your hands for 30 seconds first, or run it under warm water. A room-temperature solution is much more tolerable.
Step 3: Massage the Base of the Ear
This is the secret step most people skip. Gently massage the base of the ear flap (where it meets the head) for 20-30 seconds. You should hear a soft squishing sound—that’s the solution breaking up wax and debris.
Your cat will likely shake her head after you let go. That’s a good thing! Head shaking helps move loosened debris out of the ear canal. Just stand back, or you’ll get sprayed with solution.
Step 4: Wipe Away the Gunk
Take a dry cotton ball or gauze pad and wipe the visible parts of the inner ear flap. Never push anything into the ear canal. Only clean what you can see. If you see debris deeper, let the solution do the work—it will continue breaking down wax over the next few hours.
Repeat with a fresh cotton ball until it comes away clean. For both ears, use separate balls to avoid cross-contamination.
Step 5: Reward and Repeat
Immediately give your cat a treat and some praise. She just tolerated something weird, and that deserves a party. Clean ears should be left to air-dry. If they feel damp, you can gently pat the outer flap with a dry gauze pad.
Schedule the next cleaning based on how dirty the ears were. Heavy buildup? Clean again in a week. Light dusting? Once a month is fine.
Common Mistakes to Avoid (And How to Fix Them)
Even experienced pet parents mess up. Here are the top three errors I see, so you don’t repeat them.
Mistake #1: Using Q-Tips
I can’t say this enough: never use Q-tips in a cat’s ear. The ear canal is L-shaped, and a Q-tip can turn debris into a plug. It can also puncture the eardrum if inserted too deep. If you’ve already used them and your cat seems fine, stop now. If she shows signs of pain or imbalance, see a vet.
Mistake #2: Cleaning Too Often
Some cats produce more wax than others. But cleaning every day or every other day can strip protective oils, leading to dry, irritated ears. Stick to once a week at most, and only if there’s visible buildup.
Mistake #3: Ignoring the Other Ear
It’s easy to focus on the dirty ear and forget the clean one. But ear mites and infections often affect both ears. Always clean both ears, even if only one looks bad. Use a fresh cotton ball for each.
If you notice your cat scratching her ears excessively after cleaning, she may be having an allergic reaction to the solution. Switch to a different brand (try Zymox for sensitive skin) and consult your vet if symptoms persist.
When to Call the Vet: Red Flags You Shouldn’t Ignore
Home cleaning is great for maintenance, but it can’t treat infections or infestations. Here’s when to put down the cotton balls and pick up the phone:
- Black, crumbly discharge that looks like coffee grounds (ear mites)
- Yellow, green, or bloody discharge (bacterial or yeast infection)
- Swelling, redness, or heat around the ear
- Head tilting, circling, or loss of balance (possible inner ear infection)
- Strong, foul odor that doesn’t go away after cleaning
If you see any of these, schedule a vet appointment. They’ll likely take a swab to check under a microscope and prescribe medicated drops or oral medication. The average cost for an ear infection vet visit is $50–$100 for the exam, plus $20–$40 for medication.
One more thing: never use over-the-counter ear mite treatments without a diagnosis. Many are ineffective or contain harsh insecticides. Let your vet confirm the problem first.
Product Picks: Best Ear Cleaners for Cats
Here are three products I personally trust and recommend. Each is safe, effective, and widely available.
FAQ: Your Ear Cleaning Questions, Answered
How often should I clean my cat's ears?
Most cats only need ear cleaning once a month. If your cat produces excess wax, has floppy ears, or suffers from allergies, once a week is fine. Never clean more often than that unless directed by your vet.
What can I use to clean my cat\u2019s ears at home?
Use a cat-safe ear cleaning solution like Virbac Epi-Otic Advanced or Zymox Otic Ear Cleanser. Never use water, alcohol, or hydrogen peroxide. Use soft cotton balls or gauze pads\u2014never Q-tips, which can push debris deeper or damage the eardrum. Apply the solution to a cotton ball, not directly into the ear, and gently wipe visible areas only.
📚 Want More Pet Care Tips?
Check out our free printables and digital products for deeper guides: